

5 Easy Steps to Mounting a TV
Most flat screen televisions these days come equipped with mounting capabilities to maximize space and comfort in your home. Mounting a TV definitely has a lot of benefits, but one of the biggest drawbacks is the price of professional installation—which is often on top of the cost of the mounts themselves. But with a little research and a handy assistant, there is no reason the average homeowner cannot safely and successfully do the job themselves. Lucky for you, we have created the ultimate TV wall mount installation guide to help you through the process of mounting a TV to your wall—all you need are some tools and a willing family member or friend!
Step One: Planning is key

Your first step to mounting a TV in your home is to plan out the process to ensure you are prepared for the task. This includes assembling your tools and components.
You will need:
- a wall mount kit
- a stud finder
- level
- tape measure
- drill (with a drill bit that is slightly smaller than the mount screws)
First, decide on what type of mount you want to get. A fixed, non-adjustable mount sits closer to the wall for a sleek look, but it cannot be placed too high on a wall without becoming quite literally a pain in the neck—craning upward to see a television makes viewers strain their necks over long periods of time. Meanwhile, an adjustable, tilt-swivel mount gives viewers more control over the placement of their TVs, as they can be maneuvered side to side and tilted up and down. However, these mounts are a little bulkier and sit farther away from the wall.
If you cannot already tell, placement is also an important part of the planning process. Not only do you need to consider viewers’ comfort, but also their sightlines. Consider what the view of your chosen spot is like from different positions throughout the room and where the light is at certain times of day. You will also want to keep in mind that while the TV will be mounted, the devices connected to it still need a home, so chose a spot that will also fit an entertainment center or has room below it to install a floating shelf.
Pro tip: whatever you do, though, avoid mounting a TV above the fireplace.
Step Two: Find a solid base
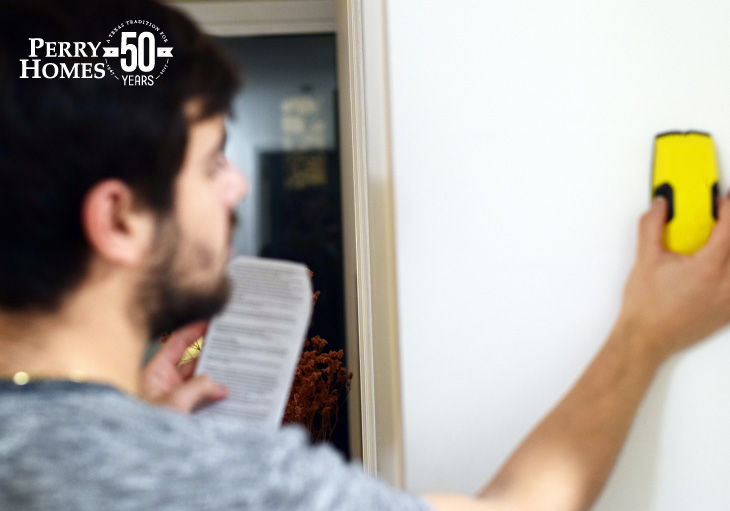
The second and often most frustrating step in mounting a TV is to locate and mark the studs in your wall. Drywall cannot sustain the weight of a television over time, so if you do not want your freshly mounted television crashing to the floor—and taking a chunk of wall with it—take your time on this step.
Using a stud finder, slowly pass the instrument over the space you intend to hang your TV. Pro tip: Let the tool warm up for a few seconds and gauge the density of the wall before you start your search. When you find a stud, mark the outside edges of it with a pencil, as well as the center. From that center, you can measure 16 inches in either direction and should find the center of a second stud. Mark the centers of at least three studs in the area you want to mount a TV. If you cannot find any studs in that area, choose a new space.
Once you have located your studs, use the template that comes with the mount—or the mount itself—to mark the position of the four holes on the outside edges of your mount over the two studs you previously identified. Use a level to ensure your mount will be aligned evenly on your wall.
Step Three: Install the mount
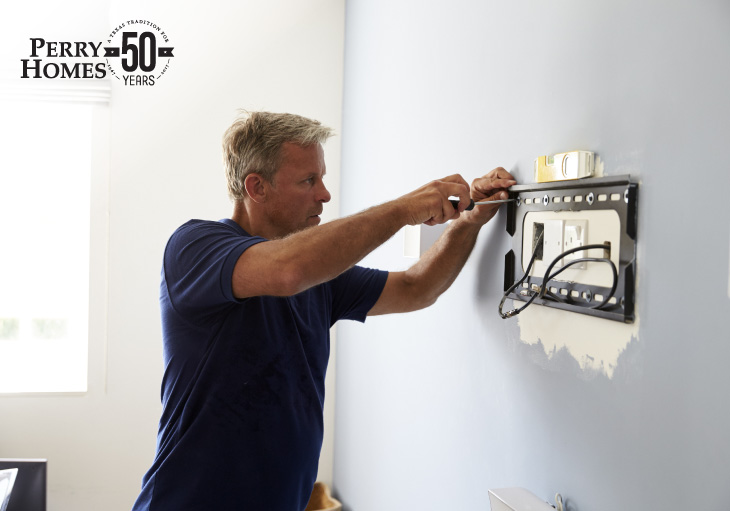
Once you have marked off the position of the mount, it is time to fix it to your wall. Because of the density of the wall and stud, it is necessary to first drill pilot holes in your wall to ease the passage of the screws that will hold your mount in place using a drill bit that is similar in size to the screws in your mount kit.
Now you are ready to install the mount. You will need your assistant for this task to either hold the mount level or screw it into place. Your mounting kit will come with the hardware necessary to mount the TV, so simply use it to attach the mount to the wall—but do not tighten the screws all the way! Check again that your mount is level and slide it back and forth over the loose screws to position it where you like on the wall before tightening the hardware fully.
Step Four: What about the wires
One of the biggest faux pas of mounting a TV is allowing the unsightly wires to hang haphazardly from the television. Thankfully, there are solutions that require varying amounts of work. For those who need a simple fix, paintable cord cover kits are inexpensive and widely available in home improvement stores and online.
Homeowners comfortable with a little more handywork can use an in-wall power extension or powerbridge kit to safely run cables in the wall. While it is against National Electric Codes to throw an extension cord in your wall and call it a day, when you install a power bridge you are basically installing an outlet behind your TV and an inlet near the floor, where a typical outlet would be. An extension cord running from a normal outlet to the inlet provides the electricity.
The biggest drawback to this option is having to cut more than one sizable chunk out of your wall. For renters or homeowners looking to preserve the integrity of their houses, this might not be the best choice.
Step Five: Putting on the bells and whistles
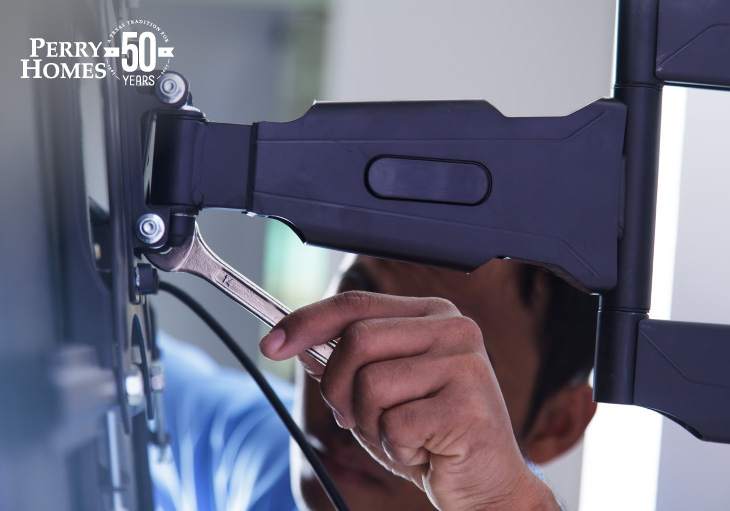
Once your mount is safely and expertly attached to your wall, it is time to fix your television to the mount. If you haven’t already, attach the brackets found in your mounting kit to the back of your TV. You and your assistant can then lift the television and hold it steady while you attach it to your mount with the supplied hardware from your mounting kit.
Plug and run your wires in whatever configuration you have decided on—this step needs to be completed before you attach your television if you have purchased and installed a power bridge.
Pro tip: attach an additional HDMI cable to your set up in anticipation of that new device you and your family just have to have.
Now just step back and admire your handywork.
Is the whole block jealous of your professional-looking mounted television? Share this blog with them!